
Little did I know that after promising that Hobby Lobby would promptly sell out of Krylon's Looking Glass spray paint and not have any for weeks!!!
Finally I was able to get some, yes, I bought TWO cans this time. I didn't want to take any chances!!! The vases are still drying in the garage so I will take some nicely staged shots to add to this tut when everything is dry.
This tutorial is extremely pic heavy! Beware!
Supplies needed:
glass vase of some kind. the ones above came from goodwill, the ones below were a whopping $3 at Ross.
water (sink or bowl or water hose, whatever works)
Krylon's Looking Glass spray paint. ($11.99 at HL, make sure you use a coupon!)
Flat black spray paint
clean, soft, rag
cardboard or something to set the vase(s) on to dry overnight
Rustoleum Hammered Metal spray paint in gray (optional)
Ok, let's get started. Gather your supplies.
vases (note how super clean they are):


First hold your vase by the bottom and wet your fingers. (this sounds interesting, right?) You want to 'splash' a little water inside the vases to make droplets. Some people use spray bottles, I find that using your hands makes it a little more random. You want enough water so it doesn't dry before you start painting, but not so much that it runs. If it starts to run dry it out and start over.
Vase splashed with water:

Now, go outside to your dedicated mercury glass spray paint area aka. chimney of kids' play house. This looking glass spray paint is...weird compared to other spray paints. It's really runny (watery) and smells just...strange. Wear a mask, definitely.
Hold the vase with the water droplets (again, not inside the house!) and very, very lightly spray inside the vase. It will take 5-6 coats to get the right coverage. The paint will run, that's ok, but you don't want ALL of it to run. I let them sit upside down between coats and wait about, oh, a minute or so before the next coat.
Coat 1:


Coat 3:


After you have the coats painted let them sit upside down overnight to dry (I like to use a fancy cat litter lid in the corner of my very dirty garage):

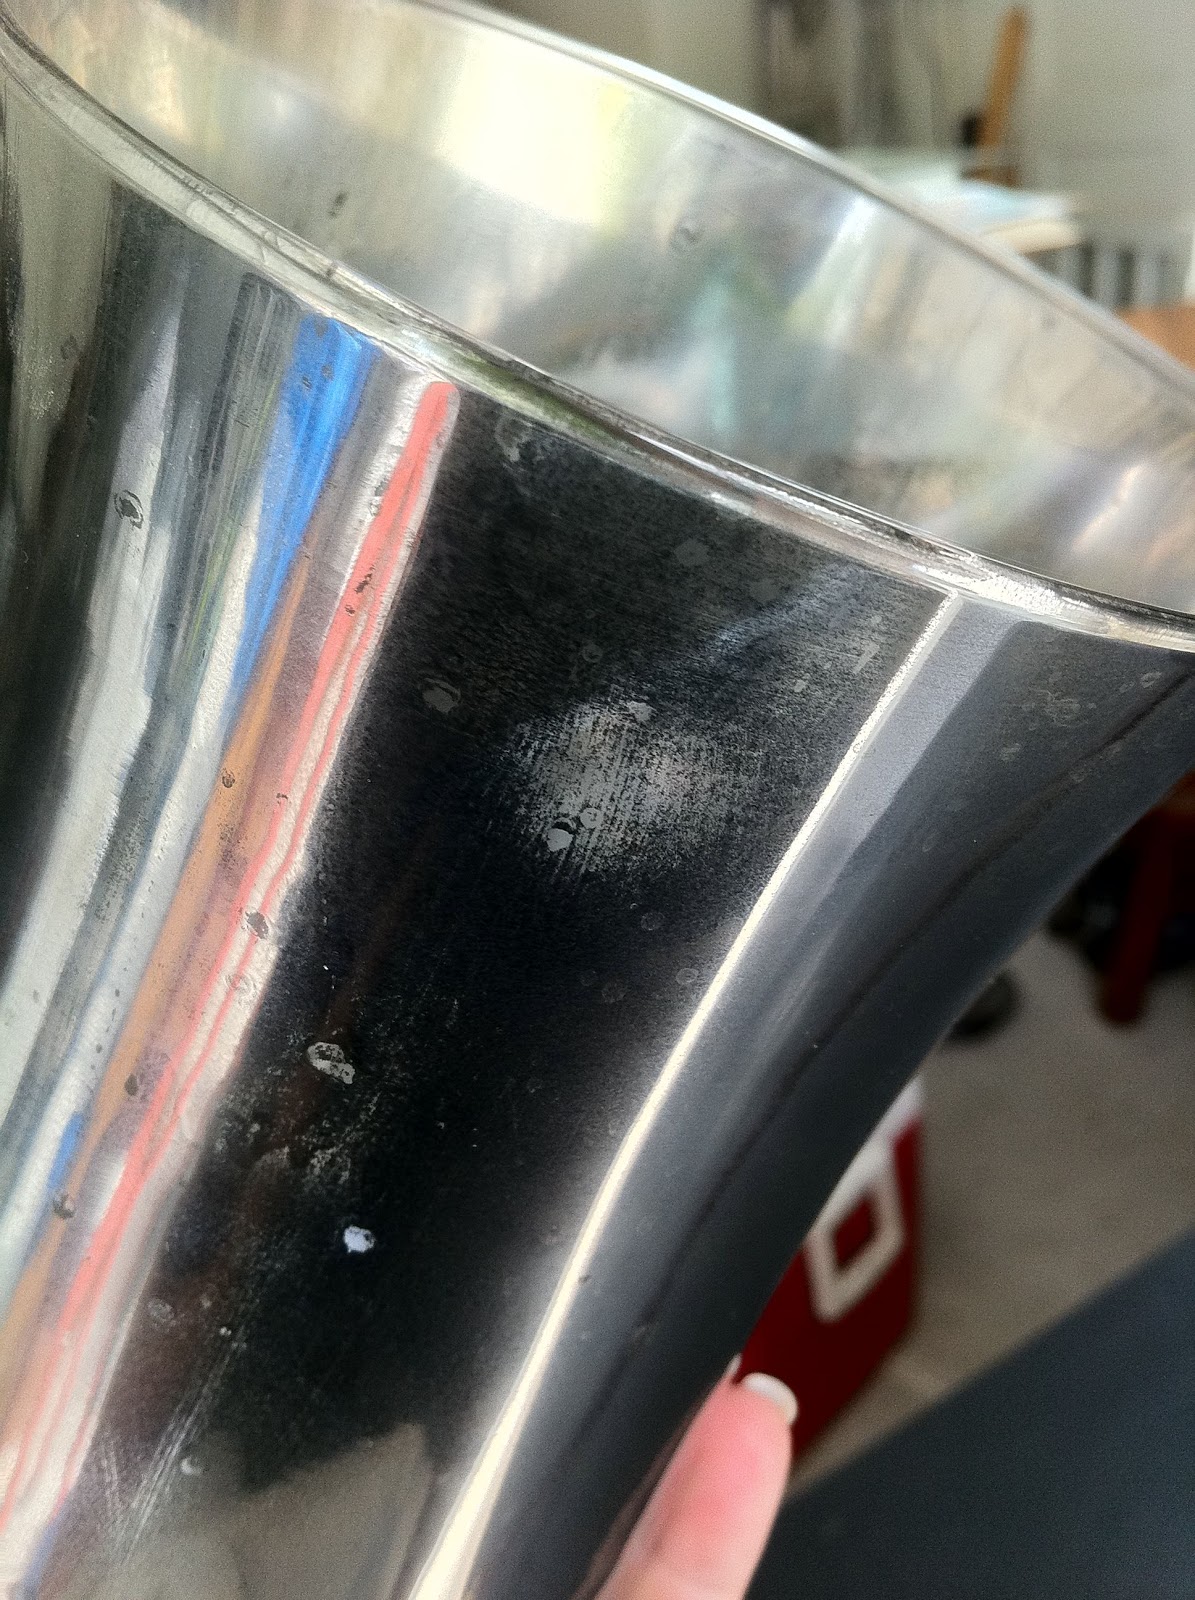
Fast forward to the next day. The looking glass spray paint is pretty delicate inside the vases. If you aren't careful you can rub it all off. Using your soft dry rag, carefully wipe inside the vases. The goal here is to wipe off the loosened paint where the water droplets were. You can also wipe off some of the paint if you got it too thick when you were painting the layers.


Now, the vases look nice like this (but still aren't stable, will wipe off) but they just look like silver vases. One of mine was covered well with paint, the other one was not coated as well. So, I decided to use a little of the 'hammered metal' spray paint (gray) I had on hand to fill in some of the bare(ish) areas. I figured it was silverish with some black so it would work. I added a light coat to each of the vases. Much better but still not quite finished.

To make this look like real mercury glass you need it to be black inside. These vases are pretty to look at but really don't make good candle holders because they're black inside. But like I said, pretty to look at! :)
One light coat of flat black and voila! Faux mercury glass: (see the overspray on the top edge? wipes right off!)


If you have any questions leave me a comment or send me an email! Enjoy. Happy faux mercury glass making!

this is fabulous! love it!
ReplyDeleteThis is amazing- I am going to have to try it sometime! Thanks for sharing at Feathered Nest Friday! :)
ReplyDeleteSoooo cool! Thanks for the wonderful tutorial! Just love this technique, Brandi! :)
ReplyDeletexoxo laurie
What a great tutorial- I think I want to try making my own "mercury" Christmas ornaments using this technique by just using those super cheap clear glass ornaments then using this painting tutorial! I love finding cool stuff like this on blog hops!
ReplyDelete-Robyn from http://tipsfromtheheart.blogspot.com
Love the way this came out. Your directions are clear and easy to follow. I'm going to have to try this for my Christmas decor. I love the look but not the cost of mercury glass.
ReplyDeleteYou've been featured at my weekly link party - Hookin Up with HoH!
ReplyDeleteFeel free to stop on by and grab a button if you'd like. :)
xoxo
Allison @ House of Hepworths
Ooooo, I want to try this...so fun!!! I have some of those classy cat little lids around I can use, too, so I'm all set! :)
ReplyDeleteVery great photos. I really love them,
ReplyDeleteStart a painting business
Have you ever tried to do the faux mercury glass on the outside of an item? I bought 2 beautiful clear cut glass lamps at the Salvation Army and wanted to make them look like mercury glass. I sprayed the water on and then painted with the Looking Glass paint. Well, they are kind of speckled, but they are not shiny like mercury glass. They are kind of flat/frosty looking like silver spray paint might look. Do you think I just don't have enough coats or does the paint have to be used on the inside to work? HELP!
ReplyDeleteUnfortunately I have tried using it on the outside and it doesn't work. The looking glass paint is only reflective and shiny when it's applied on the inside of glass. Maybe you could try some pour on resin?
ReplyDeleteGoogle pour on resin. I've seen it used around pinterest quite a bit. Good luck!
Any thoughts on trying to use the finished product as an actual vase - as in a vessel that holds water and flowers? I imagine you would need a sealant of some kind. Any tips you have are appreciated!
ReplyDeleteI would not use this as a vase, even with sealant (that would be such a pain to do!) What about using a smaller glass vase inside the mercury glass one? It would hold the flowers and the water and still look like that they were just sitting in the faux mercury glass vase. You could pick up a smaller vase at the dollar store and voila! Done. Good luck!
ReplyDelete