Wednesday, October 12, 2011

Faux Mercury Glass Tutorial

I promised ages ago the other day I would put together a tutorial for the mercury glass I made:


Little did I know that after promising that Hobby Lobby would promptly sell out of Krylon's Looking Glass spray paint and not have any for weeks!!!

Finally I was able to get some, yes, I bought TWO cans this time.  I didn't want to take any chances!!!  The vases are still drying in the garage so I will take some nicely staged shots to add to this tut when everything is dry.

This tutorial is extremely pic heavy!  Beware!

Supplies needed:
glass vase of some kind.  the ones above came from goodwill, the ones below were a whopping $3 at Ross. 
water (sink or bowl or water hose, whatever works)
Krylon's Looking Glass spray paint.  ($11.99 at HL, make sure you use a coupon!)
Flat black spray paint
clean, soft, rag
cardboard or something to set the vase(s) on to dry overnight
Rustoleum Hammered Metal spray paint in gray (optional)

Ok, let's get started.  Gather your supplies.

vases (note how super clean they are):


First hold your vase by the bottom and wet your fingers. (this sounds interesting, right?)  You want to 'splash' a little water inside the vases to make droplets.  Some people use spray bottles, I find that using your hands makes it a little more random.  You want enough water so it doesn't dry before you start painting, but not so much that it runs.  If it starts to run dry it out and start over.

Vase splashed with water:


Now, go outside to your dedicated mercury glass spray paint area aka. chimney of kids' play house.  This looking glass spray paint is...weird compared to other spray paints.  It's really runny (watery) and smells just...strange.  Wear a mask, definitely.

Hold the vase with the water droplets (again, not inside the house!) and very, very lightly spray inside the vase.  It will take 5-6 coats to get the right coverage.  The paint will run, that's ok, but you don't want ALL of it to run.  I let them sit upside down between coats and wait about, oh, a minute or so before the next coat.

Coat 1:


Coat 2:


Coat 3:


Coat 4:


Coat 5:


You can see how each coat just builds and builds.  The reflectiveness comes through when you can start to see my phone case in the reflection ;)

After you have the coats painted let them sit upside down overnight to dry (I like to use a fancy cat litter lid in the corner of my very dirty garage):


Fast forward to the next day.  The looking glass spray paint is pretty delicate inside the vases.  If you aren't careful you can rub it all off.  Using your soft dry rag, carefully wipe inside the vases.  The goal here is to wipe off the loosened paint where the water droplets were.  You can also wipe off some of the paint if you got it too thick when you were painting the layers.


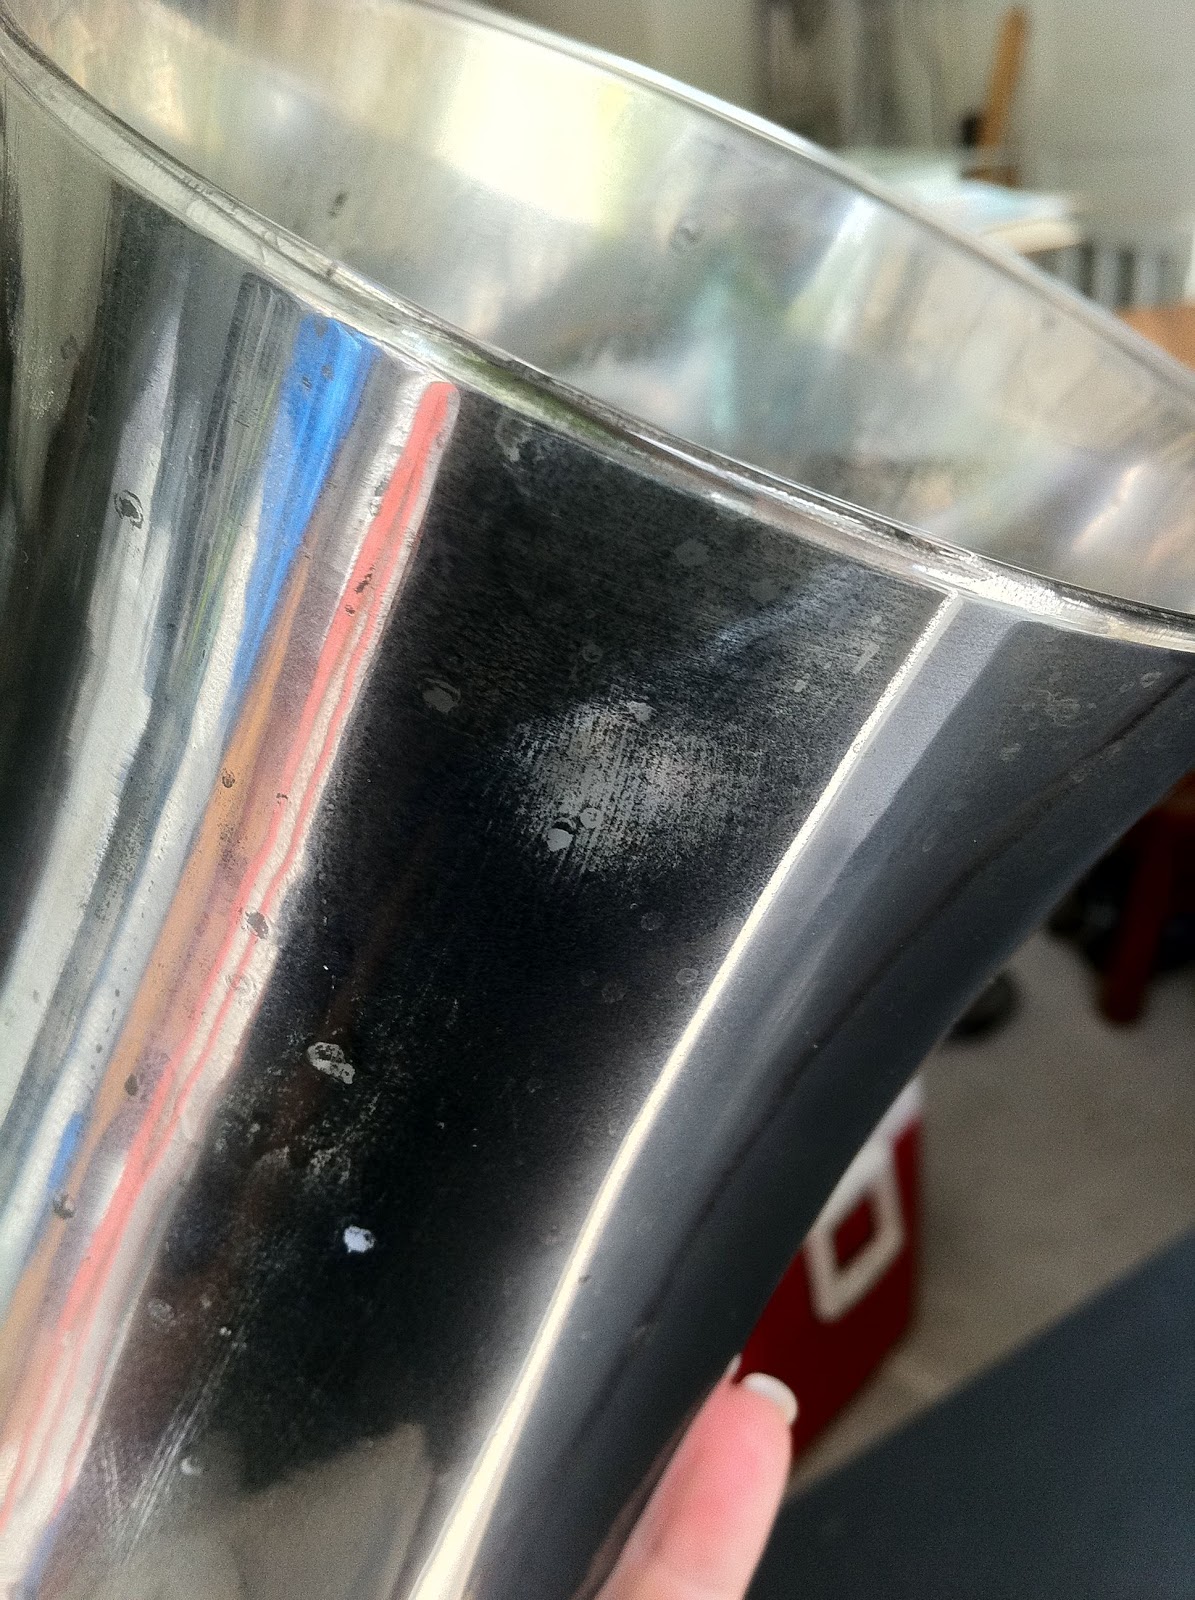


Now, the vases look nice like this (but still aren't stable, will wipe off) but they just look like silver vases.  One of mine was covered well with paint, the other one was not coated as well.  So, I decided to use a little of the 'hammered metal' spray paint (gray) I had on hand to fill in some of the bare(ish) areas.  I figured it was silverish with some black so it would work.  I added a light coat to each of the vases.  Much better but still not quite finished.


To make this look like real mercury glass you need it to be black inside.  These vases are pretty to look at but really don't make good candle holders because they're black inside.  But like I said, pretty to look at! :)

One light coat of flat black and voila! Faux mercury glass:  (see the overspray on the top edge?  wipes right off!)


If you want this to be super scratch resistant (because at the end of the day this is still just spray paint on glass, it can be scratched) then you should paint the inside with black gloss enamel and let it dry.  It takes several days to cure completely.

If you have any questions leave me a comment or send me an email!  Enjoy.  Happy faux mercury glass making!

Tuesday, October 11, 2011

What I have been doing...

Otherwise titled, "why I am a blogger slacker"

I promise I've been busy.  I have a tutorial coming on how to make a fancy schmancy ruffled lampshade without ever sewing a stitch.  I also have a tutorial on my faux mercury glass - it took me about, oh, 3 weeks to find the looking glass spray paint that I needed.

First, let me tell you where I've been.  Back in the middle of September I was involved with decorating for a ministry that saves people, mostly girls, from human trafficking here in the Houston area.  It's real, and it's scary.  If you want to learn more, go here:  Redeemed Ministries.  They call the girls that are saved, 'sparrows' so that was the theme.  There were initially 30 tables to be decorated, and when I got there I found out there were 40 to decorate.  That was, um, challenging.  Senator Dan Patrick attended the dinner, and he bought the centerpiece off his table for $1000!!!  What a donation to the ministry!  Next year all the centerpieces will be up for auction!

Here are a couple pictures from the dinner:


Senator Patrick's centerpiece:


After that I started working on partially redoing my living room.  Here's a quick peek of a chair I recovered and a pillow I made:


And for the last two weeks I've been working on stocking up for a craft show that's this Saturday, the 15th.  I will be selling some small furniture, but also some necklaces, earrings, rings, and small home decor items.  I have been up to my eyeballs in mess craftiness!

Here's a quick preview of some of the jewelry I've made:


I'm thinking of selling my much loved 50s dresser with the burlap stripe (above) any takers?  :)  I'll probably move it up to the shop...eventually...

Sunday, August 28, 2011

Vintage French Postmarks and Furniture

So, I was moseying through blog world the other day when I came across this tutorial.  I usually hand draw all my own lettering but was fascinated by the idea of using stuff I already have on hand to reproduce vintage postmarks (or ANYTHING else) on my furniture.  I had already painted this small table (annie sloan chalk paint - ASCP - chateau gray):

and I was pleased with the results (here's where it started):


but I knew it wasn't finished, YET.  When I read the tut I immediately whipped out a postmark I had saved from the Graphics Fairy a while back.  I opened it in photoshop and got it ready to print as a mirror image.  Meanwhile, I went and got my freezer paper ready to go.  When that was all done and printed (I had to set my printer to iron-on transfer - it wouldn't print otherwise) I got to work burnishing the image to the top of the table.


{LOVE}  I think it's fantastic!  (if I do say so myself!)  I do have to say, it took a LONG time to dry.  I was worried then about waxing over the ink (even if it was dry) for fear that it would smear.  It didn't!  YAY!

So, with that all figured out I went to work on this little chest:


It's fairly small.  About a foot and a half wide and 14 inches deep and only 10 inches tall.  I painted it with a mix of ASCP louis blue, chateau gray, and paris gray.  It's a warm gray with just a hint of blue now:


For the image on the top I found the graphic I wanted to use then enlarged it in photoshop and made it so it would print in multiple pages.  Then I put the graphic on the top (don't mind the REALLY blue tint to the image):


It printed on two pages (using the same freezer paper method) and carefully lining up the image so that it would be seamless.  I printed this one in color, because the postmark on the top right is a teal blue.  It's beautiful!  After it dried I waxed it (and the stain came through the ASCP to make it look distressed without having to use any dark wax) so I just went with it.


I'm working on that Mercury Glass tutorial still!  Be patient - it's just me here with two small boys (and all you moms out there know how that can be!)  I'm doing my best - and want my tutorial to be awesome for everyone!

Have a great Sunday!


Thursday, August 25, 2011

Before and afters

I'm working hard on a requested faux Mercury Glass tutorial, so in the meantime, I will leave you with a few before and afters:


Yes, that is fabric on top of the black and white dresser.  Very edgy and modern and not my normal style, but it was a custom order for a client and it's fabulous (if I do say so myself :) !

Monday, August 15, 2011

Faux Mercury Glass Bandwagon

I've jumped on the faux mercury glass bandwagon.  Here's what I made - these were made from goodwill finds.  Glass vases and old candlesticks turned into mercury glass candlesticks.  If enough people are interested in how I did my faux glass (I read a bunch of tutorials and did my own thing thang ;) then I'll put one together.  For now, here are pictures:


Have a great day!

Friday, August 12, 2011

UPDATE - foiled sofa table

You might remember a cheapo sofa table I redid a while back. No? Let me refresh your memory:


 After I faux silver leafed it (ie. aluminum foiled it), it looked like this:


One of my wonderful readers commented and asked if I was going to do some cool lettering on it like I had done on other pieces and it got my wheels turning.  I decided to go with a french/postal theme and now we have this:


I used a white chalk ink marker I got from Michael's and I also used my trusty black sharpie.  First I drew out all the postal images (thank you Graphics Fairy!) in the white chalk ink marker.  Then I sanded them all down to almost nothing and added some black to bring out the details.  Sanded it back down again then waxed with light wax.  That was enough to just make the images subtle on the top, but if it hadn't worked I was totally prepared to use dark wax all over the top to tone it down.


And, voila! It's finished now.  Going to the shop this weekend.  Simple and sophisticated.

Have a smashing weekend!

Thursday, August 4, 2011

Early American dresser

I can't stay long :) I just wanted to share my latest finished dresser. The top of this piece had been almost ruined from something hot being sat on top.  It had actually burned the wood and then something had spilled over on it.  The fantastic chalk paint covered most of it and I distressed it after waxing it to bring out the two toned effect.

Here you go!


Related Posts Plugin for WordPress, Blogger...