Thursday, October 20, 2011

Electric side table

I had a dilemma.  When sitting in the chair in my living room, I have no where to plug in my lamp, phone or laptop that doesn't stretch across a walk way that is a) going to throw one of my kids on the floor when they run past without paying attention or b) jerk the lamp, laptop or phone off whatever surface it is on and send it smashing to smithereens on the floor. The plug I normally use is right behind that box of cars.  You can see why it's not safe to plug anything in there.


I just refinished a table to replace my old side table and I needed to be able to plug in whatever I wanted to plug in without having to unplug it every time the kids are playing.  So, I had the bright idea to put a power strip underneath the edge of the table so anything can be plugged in without causing a problem.

I went to ACE (the closest hardware place) but couldn't find a power strip with a flat plug (because I wanted to plug it into the plug that's under the rug in my living room - I was trying to eliminate cords stretched out anywhere that makes them a trip hazard), so I just got a regular extension cord with a flat plug.  I also got some white zip ties and some heavy duty double stick foam tape.


I plugged in the extension cord and ran the cord under the rug over to the table.  Then I double stick taped (is that a phrase?) the plug in end of the cord under the edge of the table and zip tied the cord to the leg.  Now everything is neat and orderly and most of all hazard mostly hazard free!  


This is the view from my chair:


Go forth and be creative!

Wednesday, October 19, 2011

Ruffled Lamp Shade from Skirt

I bought this awesome (too small) skirt from Old Navy (on clearance for $4) a while back knowing I would turn it into something else eventually.  I was thinking probably a pillow or something and even stuffed a bag of polyfil inside it and left it there to let it simmer, but it burned :) I just didn't like it.  I still liked the skirt, it really reminded me of anthropologie, but I just didn't like it as a pillow.

I had this stick lamp that I picked up from goodwill.  You know what I mean by stick lamp, right?  I'm sure there's a real name for them, but basically it's just a stick.  Square metal base and it's just a stick up to the part where you put the lightbulb in?  So, I wanted to pull some blue up from the rug that's on the floor so I decided to paint this lamp base blue (more blue-gray) but I needed a shade.

I had an ugly drum shade sitting in the closet and I pulled it out thinking I needed to recover it somehow to go with the lamp (and my living room).


When I went to check my fabric stash that skirt was sitting there so, of course, I had to see if it would fit the shade and what it would look like.  Believe it or not that skirt fit that shade perfectly.  Like it was meant to go on there.  All I had to do was take the a-line part out of the skirt and then glue it to the inside of the original shade.  I took some pictures so I could write a little how-to, but before we get into that, here's the finished product:


Here's how to make your very own ruffled lamp shade.   First you need a shade to recover and a skirt that fits it. 


The skirt just zipped right up around the shade.  Here's the it is all fitted together.


First thing I did was take in the excess to take the skirt basically from an a-line to a pencil skirt, follow me?  Nothing fancy, just put the skirt on the shade and gathered it around the bottom and kinda marked what would make it fit best and how far up I needed to go then sewed a straight line.  I didn't cut it or anything afterwards, just left it as is.


After that was done I marked where the braces are in the top of the lamp (the part where the finial goes that holds the shade onto the lamp itself?)  I knew I wanted the ruffles to start at the very top of the shade, so I would need to cut off some of the waistband.  I just held it over and put a pencil mark where they were and how long they needed to be.  I knew I was going to sew  around the line because when I cut them I didn't want them to fray.  See the pencil mark below?  And the sewn line around it? (ignore the other sewn line for now).  I sewed around all three pencil marks. 


Then I knew I'd have to cut some excess off the top of the skirt so I marked how much I'd need to trim from the waistband and that's the vertical line sewn here.  I sewed it all the way around.


I even sewed straight through the zipper (back and forth several times over the zipper so it won't come apart).


After that was sewn all the way around I cut my skirt along the three pencil lines (careful not to cut through the sewn line).


Then I cut right above the second part I sewed that shortened the waistband (confused yet?)


Again, straight through the zipper.  (make sure you're cutting on the throw away side of the sewn line!)


Now all that really confusing cutting is done, slip the skirt back over the shade and it should look like the picture below.  This is from the inside of the shade. The little box I sewed goes around the braces and the part hanging down is where I shortened the waistband so there wasn't so much excess fabric.


Here's a view from the outside at this point:


After that all I did was roll the waistband twice and hot glue it to the inside of the shade like this:


I let the bottom part of the skirt just hang, in fact, it's about four inches longer than the original shade.


It makes me chuckle to see it lit up because it looks funny.


But, hey, it's my lamp right?  I think it's awesome :) And I use it every day.


Before (before shade and new paint job):


After:


Enjoy!  Go forth and be creative!


As seen on:

Tuesday, October 18, 2011

Folded flower necklaces

Just some pretty necklaces I made over the last couple of weeks for the shop:


Monday, October 17, 2011

Easy (free) couch makeover

Proof that I am nuts. So, here's the couch I've had a while. I love the couch, but HATE the back cushions. Since I'm in no position (and don't want to) buy a new couch I sewed them so they actually go with the couch better now. Since the before picture doesn't show the pillows in all their glory, let me tell you how it is. Was.

The couch is pretty modern(ish). The cushions on the back were glorified pillows. You lean on them and the stuffing all goes away. My youngest son's favorite trick was to get on the couch and jump up, lift his feet up in front of him, and plop down in the middle of the cushion. No amount of beating, stomping, or other form of abuse could make these cushions look decent (and this picture was taken when the house went on the market, so it was a particularly brutal day for the cushions ;) This is the before.


This is the after. I trimmed the corners, and made the cushions a box shape that actually goes with the bottom cushions. I think I will add some button tufting to the back cushions to help hold the stuffing in place. Ahh...I love my couch again :)   (excuse the fancy night time photos)  I've made new pillows now and recovered a chair in the living room so I will be posting a before and after soon.


Enjoy!


Wednesday, October 12, 2011

Faux Mercury Glass Tutorial

I promised ages ago the other day I would put together a tutorial for the mercury glass I made:


Little did I know that after promising that Hobby Lobby would promptly sell out of Krylon's Looking Glass spray paint and not have any for weeks!!!

Finally I was able to get some, yes, I bought TWO cans this time.  I didn't want to take any chances!!!  The vases are still drying in the garage so I will take some nicely staged shots to add to this tut when everything is dry.

This tutorial is extremely pic heavy!  Beware!

Supplies needed:
glass vase of some kind.  the ones above came from goodwill, the ones below were a whopping $3 at Ross. 
water (sink or bowl or water hose, whatever works)
Krylon's Looking Glass spray paint.  ($11.99 at HL, make sure you use a coupon!)
Flat black spray paint
clean, soft, rag
cardboard or something to set the vase(s) on to dry overnight
Rustoleum Hammered Metal spray paint in gray (optional)

Ok, let's get started.  Gather your supplies.

vases (note how super clean they are):


First hold your vase by the bottom and wet your fingers. (this sounds interesting, right?)  You want to 'splash' a little water inside the vases to make droplets.  Some people use spray bottles, I find that using your hands makes it a little more random.  You want enough water so it doesn't dry before you start painting, but not so much that it runs.  If it starts to run dry it out and start over.

Vase splashed with water:


Now, go outside to your dedicated mercury glass spray paint area aka. chimney of kids' play house.  This looking glass spray paint is...weird compared to other spray paints.  It's really runny (watery) and smells just...strange.  Wear a mask, definitely.

Hold the vase with the water droplets (again, not inside the house!) and very, very lightly spray inside the vase.  It will take 5-6 coats to get the right coverage.  The paint will run, that's ok, but you don't want ALL of it to run.  I let them sit upside down between coats and wait about, oh, a minute or so before the next coat.

Coat 1:


Coat 2:


Coat 3:


Coat 4:


Coat 5:


You can see how each coat just builds and builds.  The reflectiveness comes through when you can start to see my phone case in the reflection ;)

After you have the coats painted let them sit upside down overnight to dry (I like to use a fancy cat litter lid in the corner of my very dirty garage):


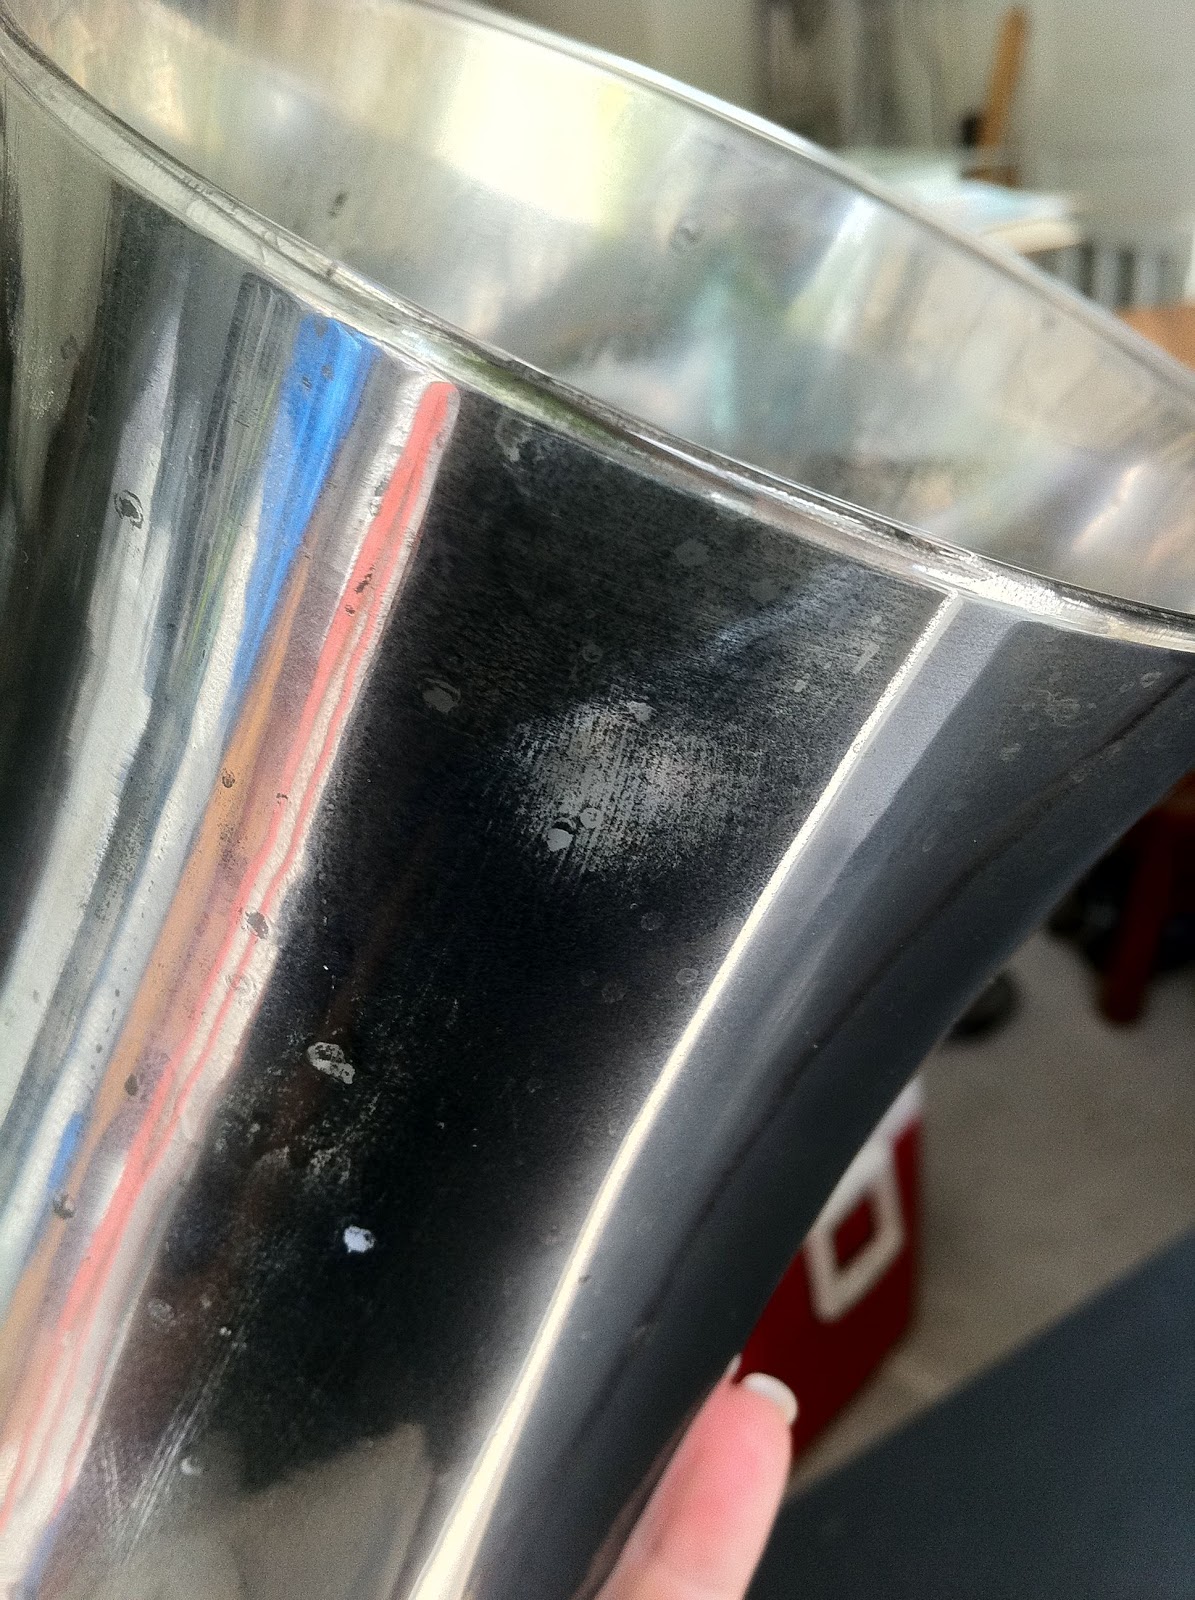
Fast forward to the next day.  The looking glass spray paint is pretty delicate inside the vases.  If you aren't careful you can rub it all off.  Using your soft dry rag, carefully wipe inside the vases.  The goal here is to wipe off the loosened paint where the water droplets were.  You can also wipe off some of the paint if you got it too thick when you were painting the layers.


Now, the vases look nice like this (but still aren't stable, will wipe off) but they just look like silver vases.  One of mine was covered well with paint, the other one was not coated as well.  So, I decided to use a little of the 'hammered metal' spray paint (gray) I had on hand to fill in some of the bare(ish) areas.  I figured it was silverish with some black so it would work.  I added a light coat to each of the vases.  Much better but still not quite finished.


To make this look like real mercury glass you need it to be black inside.  These vases are pretty to look at but really don't make good candle holders because they're black inside.  But like I said, pretty to look at! :)

One light coat of flat black and voila! Faux mercury glass:  (see the overspray on the top edge?  wipes right off!)


If you want this to be super scratch resistant (because at the end of the day this is still just spray paint on glass, it can be scratched) then you should paint the inside with black gloss enamel and let it dry.  It takes several days to cure completely.

If you have any questions leave me a comment or send me an email!  Enjoy.  Happy faux mercury glass making!

Related Posts Plugin for WordPress, Blogger...